


No items have been added to Your Quote.
Your Quote
All Quotations are commitment free, with no payment details required on submission
No items have been added to Your Quote.
Search our Handbook by category:
Our interior trim kits grace cars the world over, and we’re always thankful to our customers who take the time to send us photographs of their finished restorations.
From spectacular European mountain regions to sunny sunshine states of the USA, our interiors have been photographed in countless locations and these photographs have helped us build our website with a wealth of inspirational and informative imagery.
We are always on the lookout for images of our car interiors. If your car features a John Skinner kit, please send us a photo! The below guide will help you take the best photographs of your interior – after all the hard work and dedication of the restoration, it deserves to be photographed in its best possible light!
Image Size & Quality
Ideally photos are to be a resolution of around 3264 x 2448 pixels – these are generally the automatic resolution settings on an iPhone. When you come to send us the photos, use a file transfer service such as WeTransfer. It’s free to use (with no sign up required), and it means we receive your photographs in their original quality. It’s simple to do using your phone –
![]()
- Navigate to wetransfer.com
- Click the menu icon (3 lines) and select Send a file? (or “I just want to send files” if you are using a desktop browser).
- Select the blue + button
- Navigate to where your photos are saved
- Continue through the simple steps to send us your photos!
Alternatively, you can email us your photos, but please make sure to keep the photos at their original file size. In order to do this, you may need to send multiple mails as the files will be too large to send on one email.
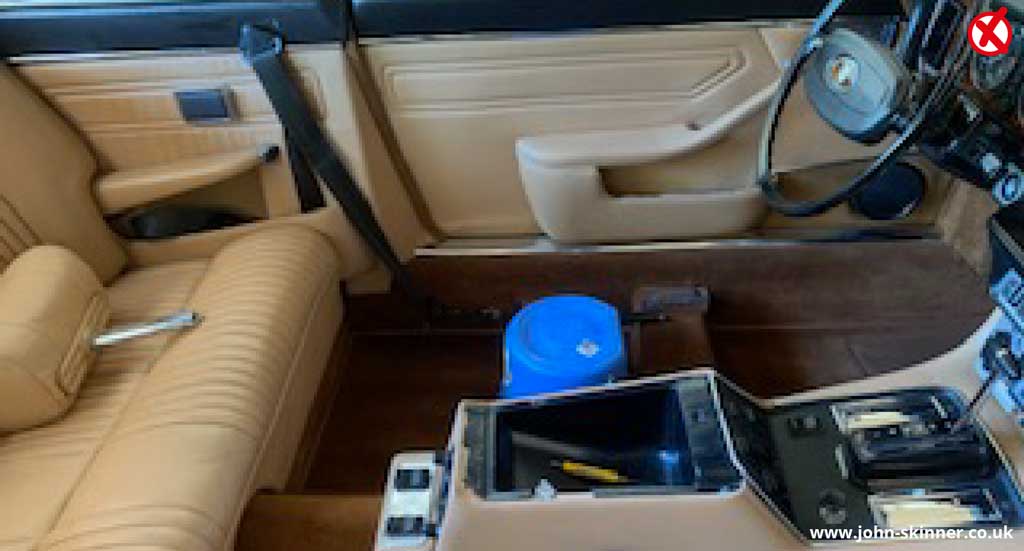
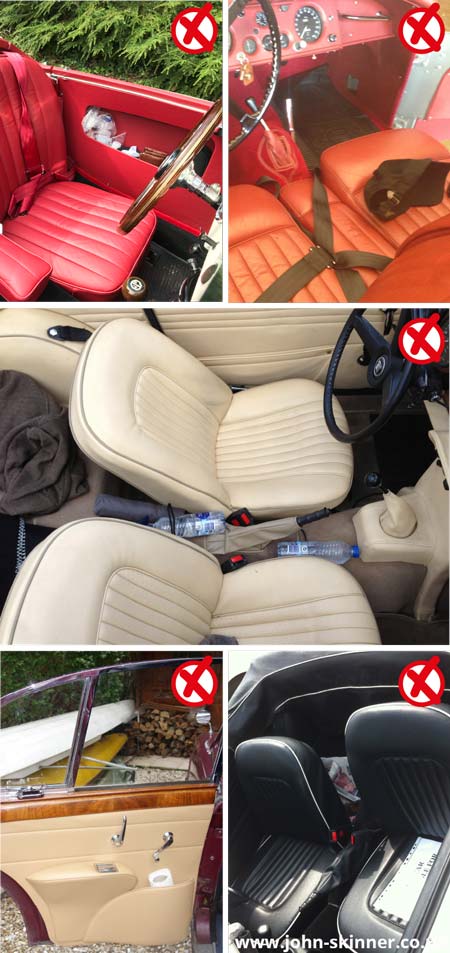
Please note that WhatsApp and other instant messenger services automatically compress photo files which compromises image quality and makes most photos received very pixelated. See below for an example:
Good Lighting
The best photographs begin with good lighting. Avoid bright overhead sunlight that casts harsh shadows and dark garage environments that makes details difficult to see. Early mornings and late afternoons – around the hour of sunrise and sunset – have long been named ‘the golden hour’ by photographers for their favourable light levels. An overcast day is ideal, particularly for interior shots.
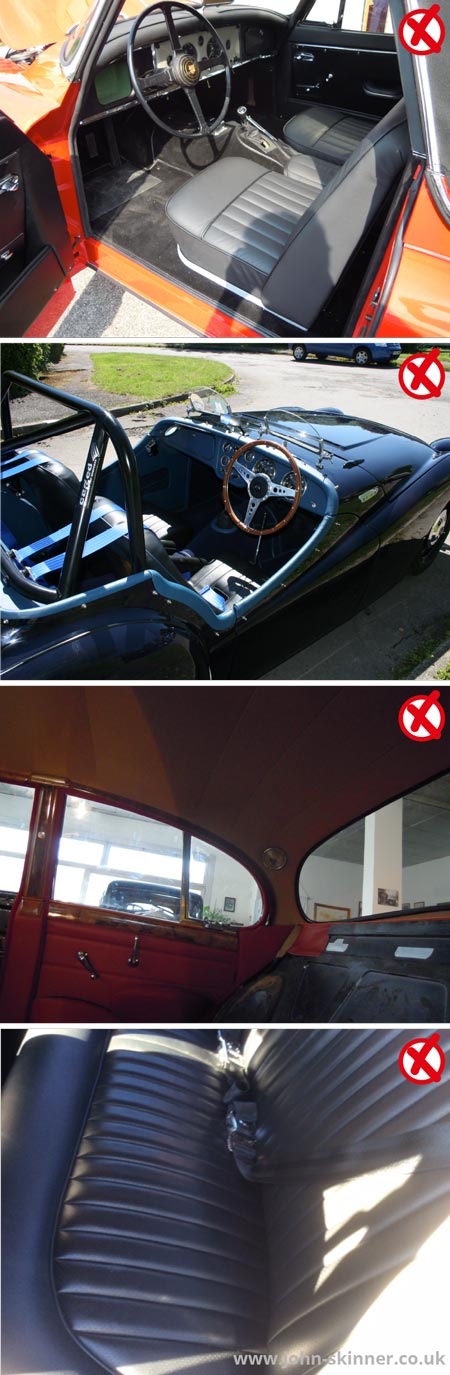
Consider the Background
Think about where your car is parked and what’s going on around it before taking a photo. Busy backgrounds can really detract from the image and make objects like dustbins the main focus! It can be hard to focus the eye when there’s too much going on in the background. Get the car out of the garage and onto the driveway, or take it for a spin into the open countryside. Don’t forget to ask people to stand out of the way too – arms, legs and hands caught in the shot are equally distracting.
Clear the Clutter!
Water bottles, cloths, leaflets, newspapers, blankets, bags…. clear it all out of the way! Much like busy backgrounds, clutter in the car distracts the eye from what the focus should really be on.
Focus
It sounds so simple, but we do receive quite a number of photographs that are out of focus and simply unusable. Good lighting helps focus the camera correctly on the subject matter but it’s also worth trying to minimise camera shake by supporting the camera on a solid surface before taking the photo.

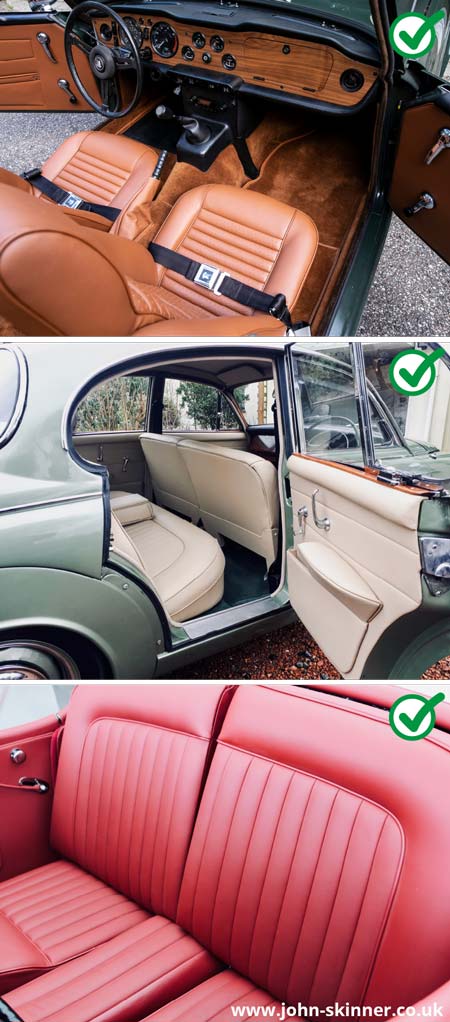
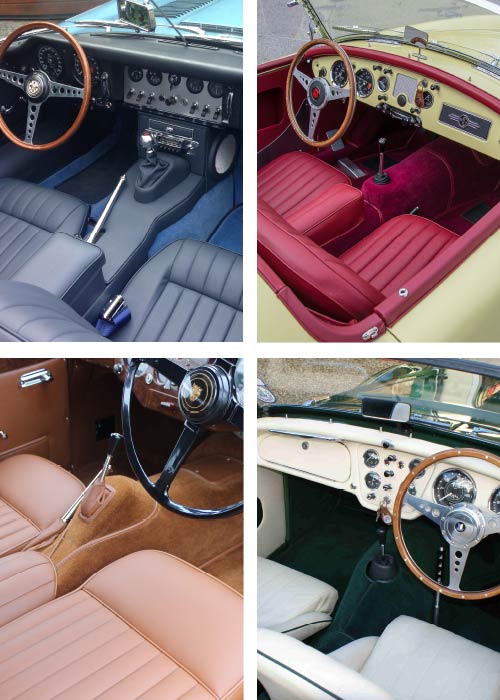
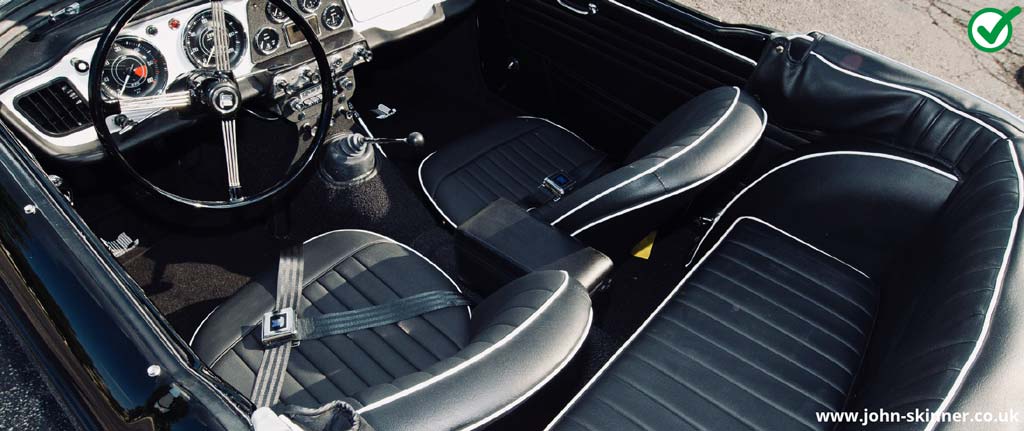
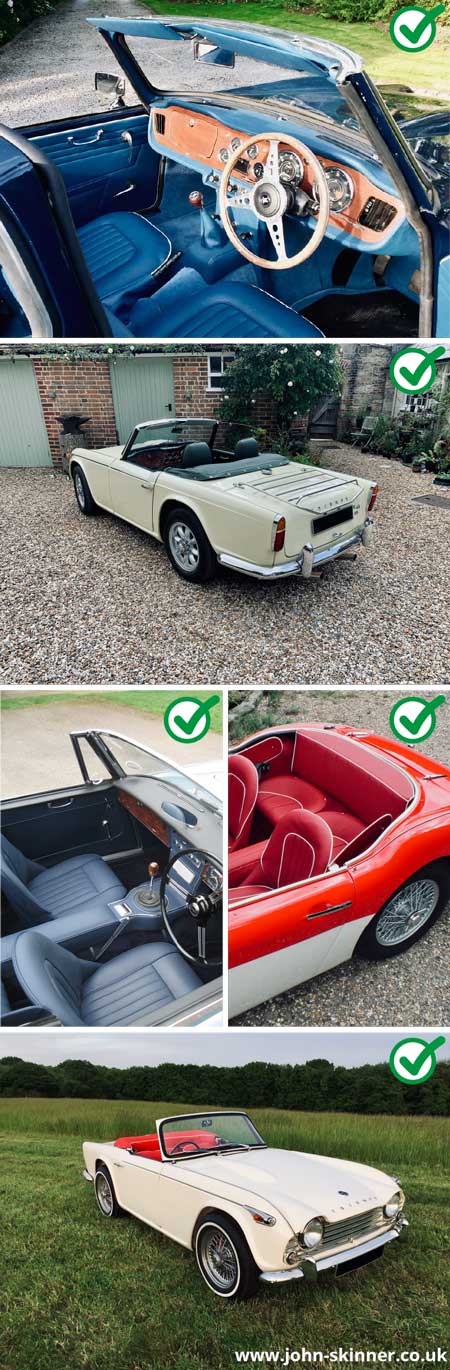
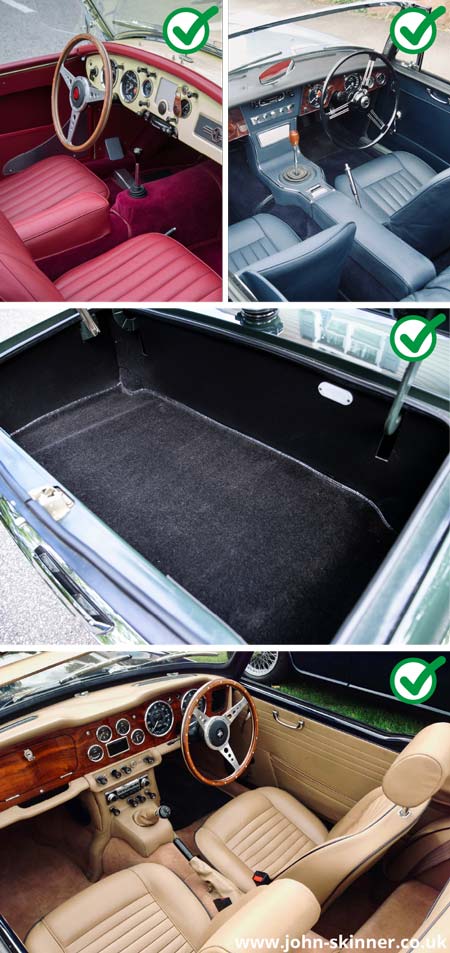
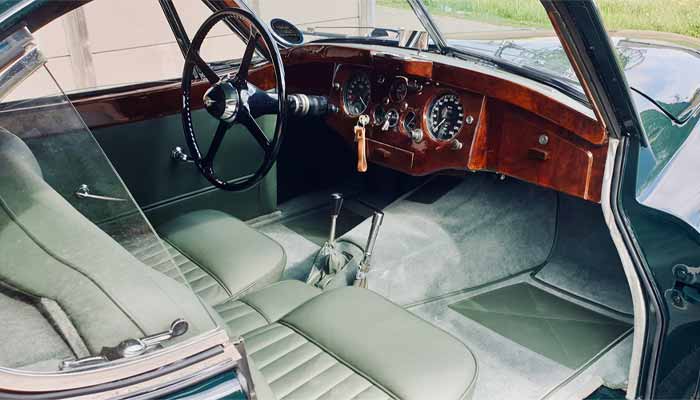
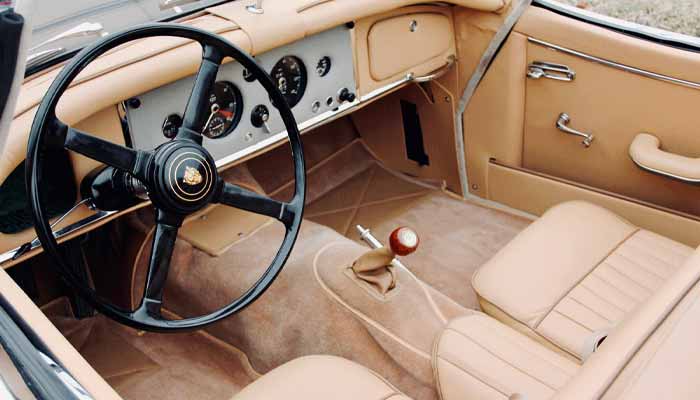
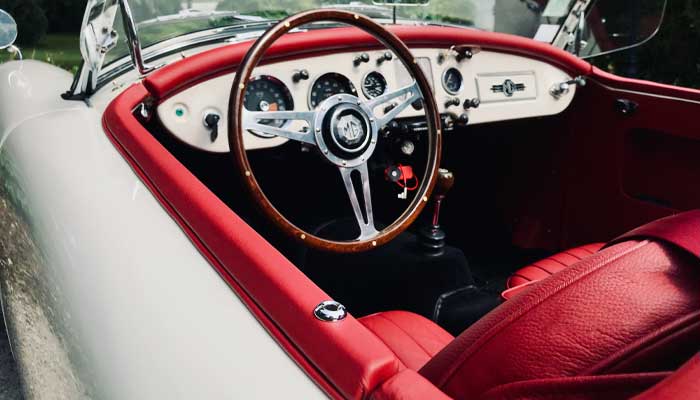
Best Angles: The classic all-in-one shot
Time and again, this classic angle – taken from standing position – captures the majority of the element of your interior; front seats, dash, carpets, door panels & console.
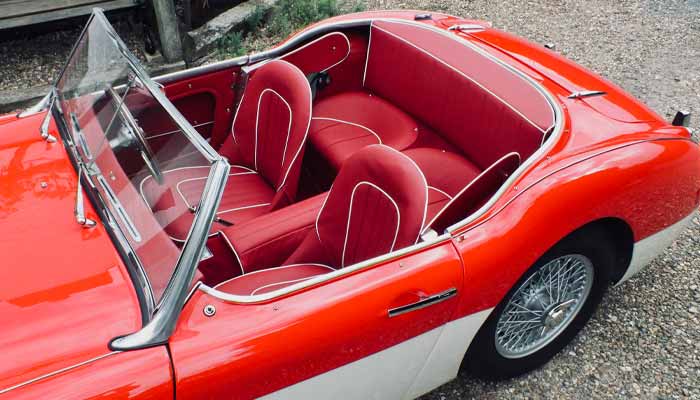
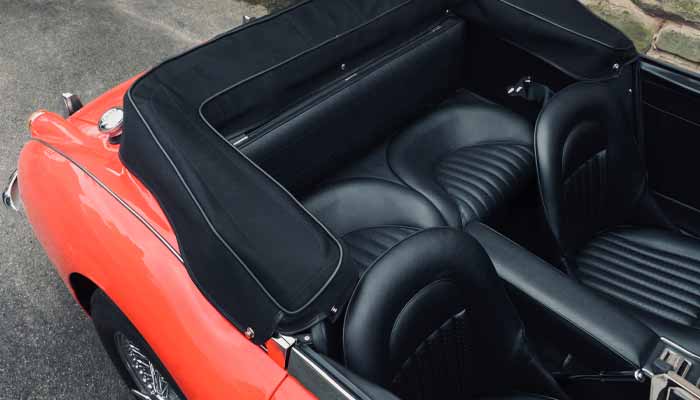
Best Angles: Take it from above
Elevate your camera position by standing on a ladder or step to raise the angle of the photo and shoot from above. This is a good technique to capture all of your interior within one shot. Shoot from the front of the car if you have rear seats to include within the photo.
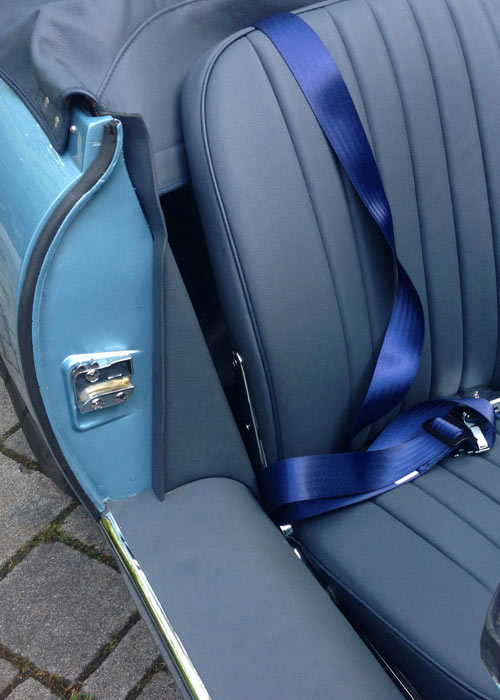
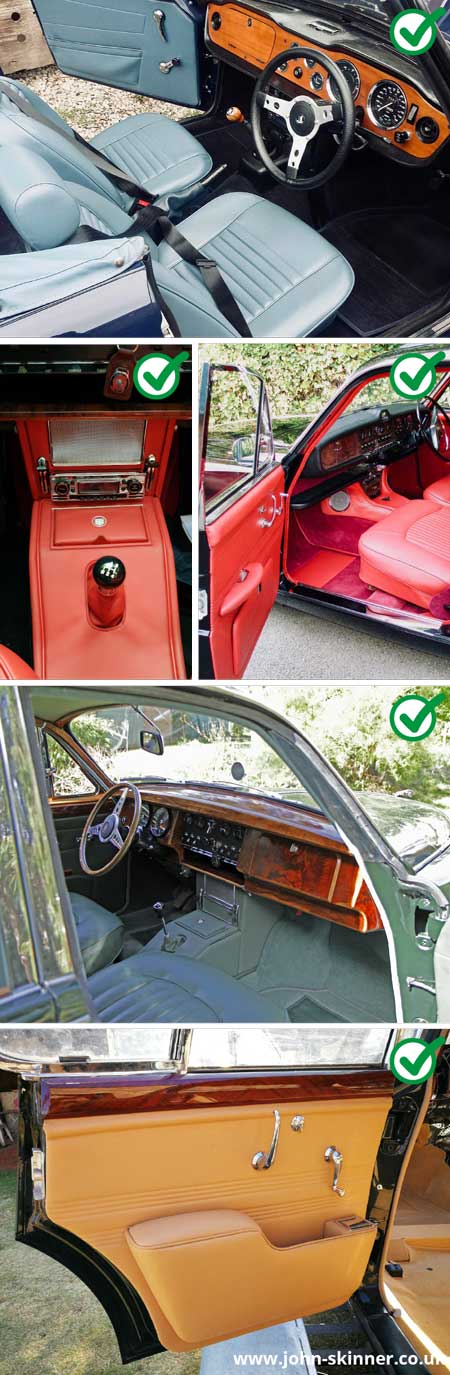
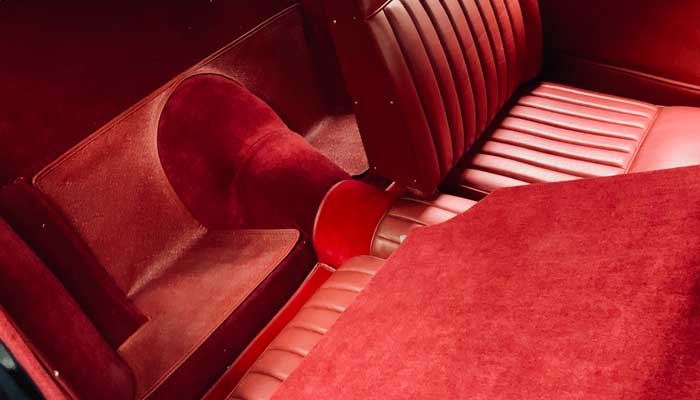
Best Angles: Consider the foreground
Whatever the main focus of your image, consider including another part of your interior within the foreground of the shot. This adds real depth and interest to your photograph. Think about capturing the top of a front seat as you focus on the rear seats, or the run of cappings as you focus in on the dash area.
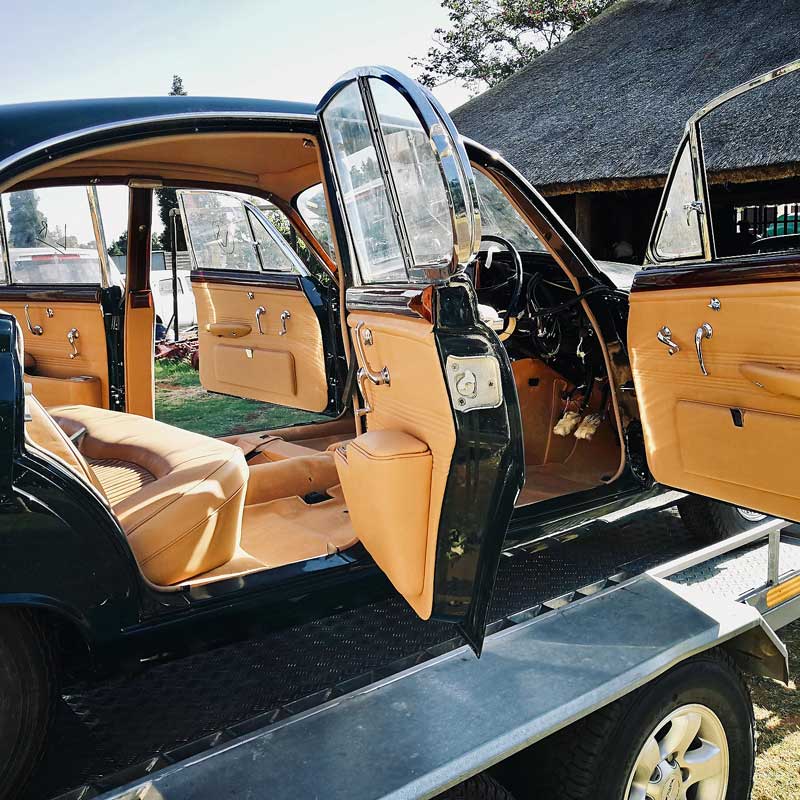
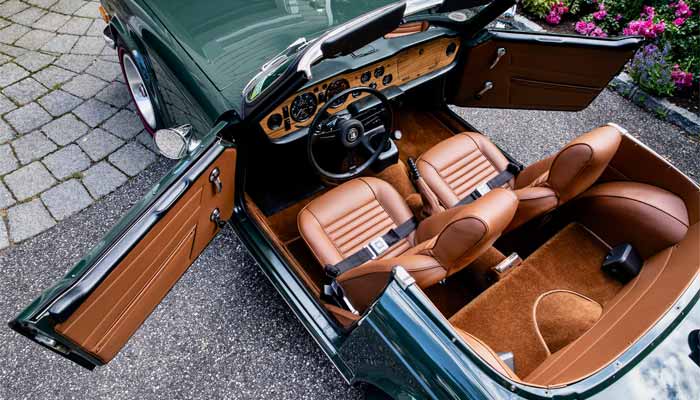
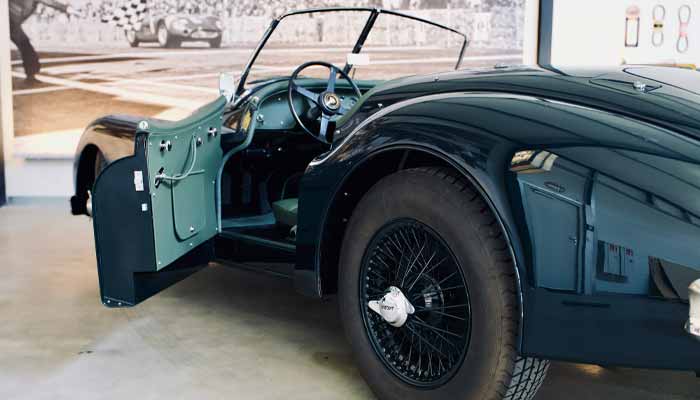
Best Angles: Bring your car to life!
Opening all the doors of your car brings it to life makes for a real show-stopping photograph.
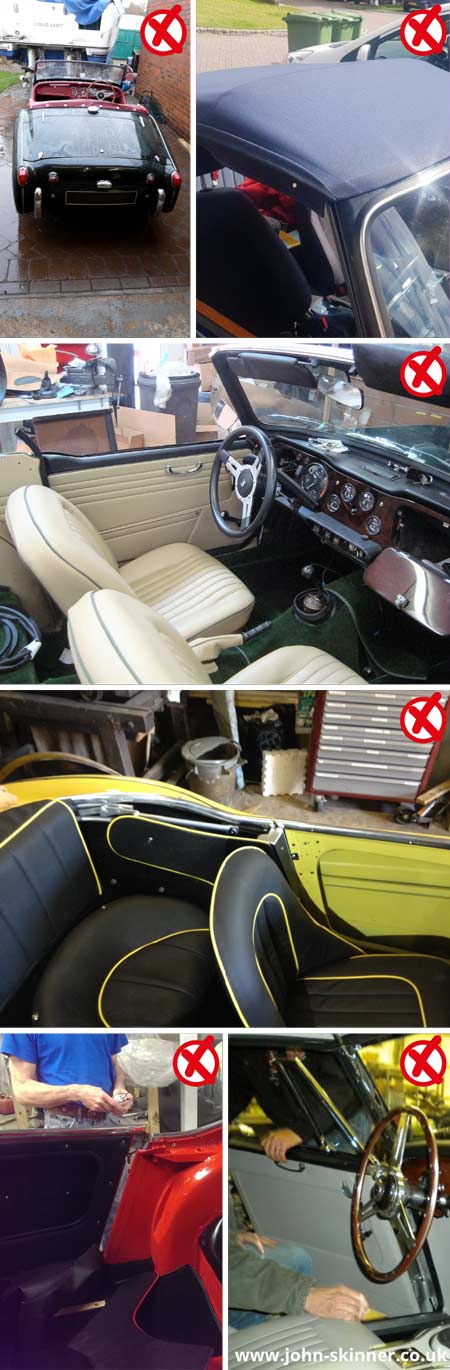
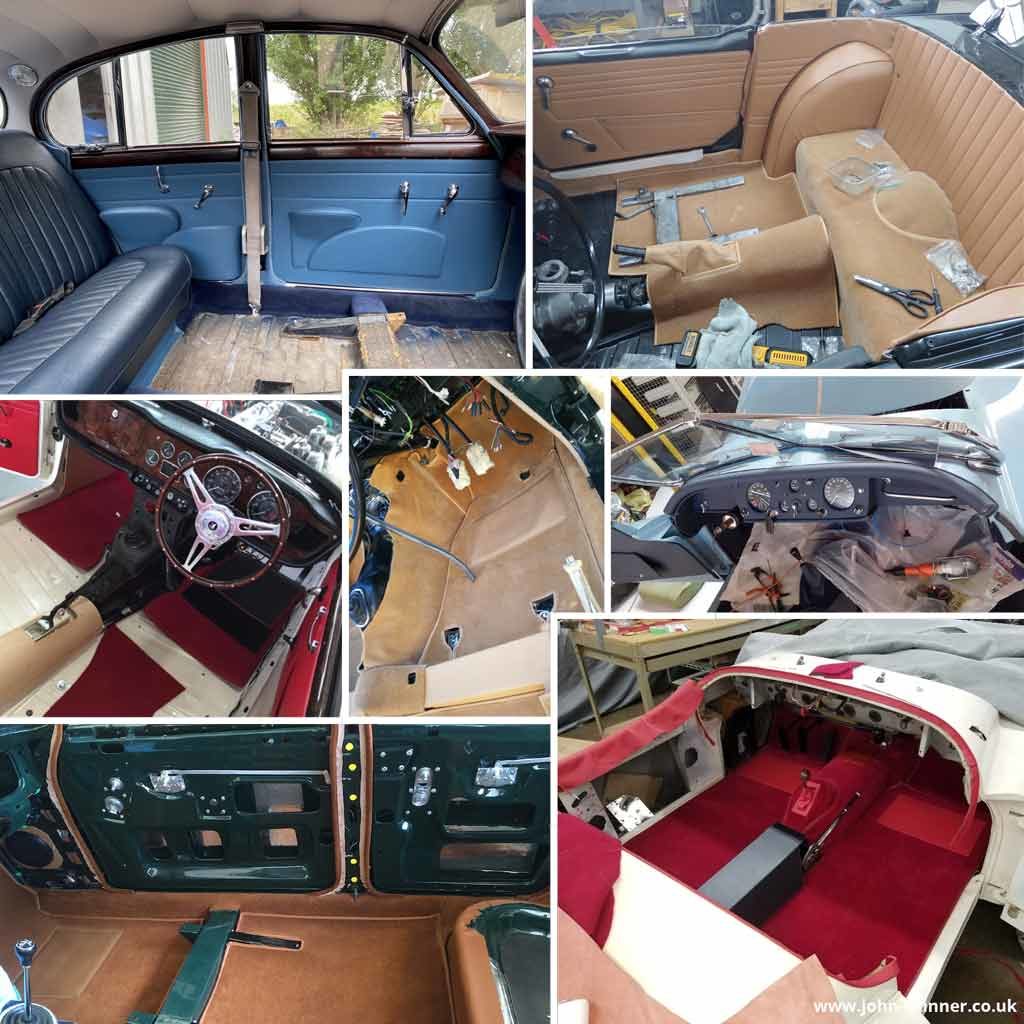
Don't forget to take progress photos!
Whilst photos of a finished interior are always a pleasure to see, as interior trim specialists we are always really keen to see the photos that document an interior restoration. What these photos lack in award winning quality they make up for in invaluable guidance!
- Categories: Your Restorations